
Making whisky at home sounds complex, but it’s more accessible than most people think. In fact, interest in home distilling and DIY brewing has grown by over 40% in recent years as people look for hands-on hobbies. At the same time, whisky kits now simplify the process by removing guesswork and reducing setup costs. This guide walks you through everything you need to build your own whisky kit, from tools to ingredients and process steps, so you can start confidently and safely.
What Is a Whisky Kit?
A whisky kit is a collection of tools and ingredients that help you produce whisky at home in a controlled and simplified way. Instead of sourcing everything separately, a kit bundles key items so beginners can follow a structured process.
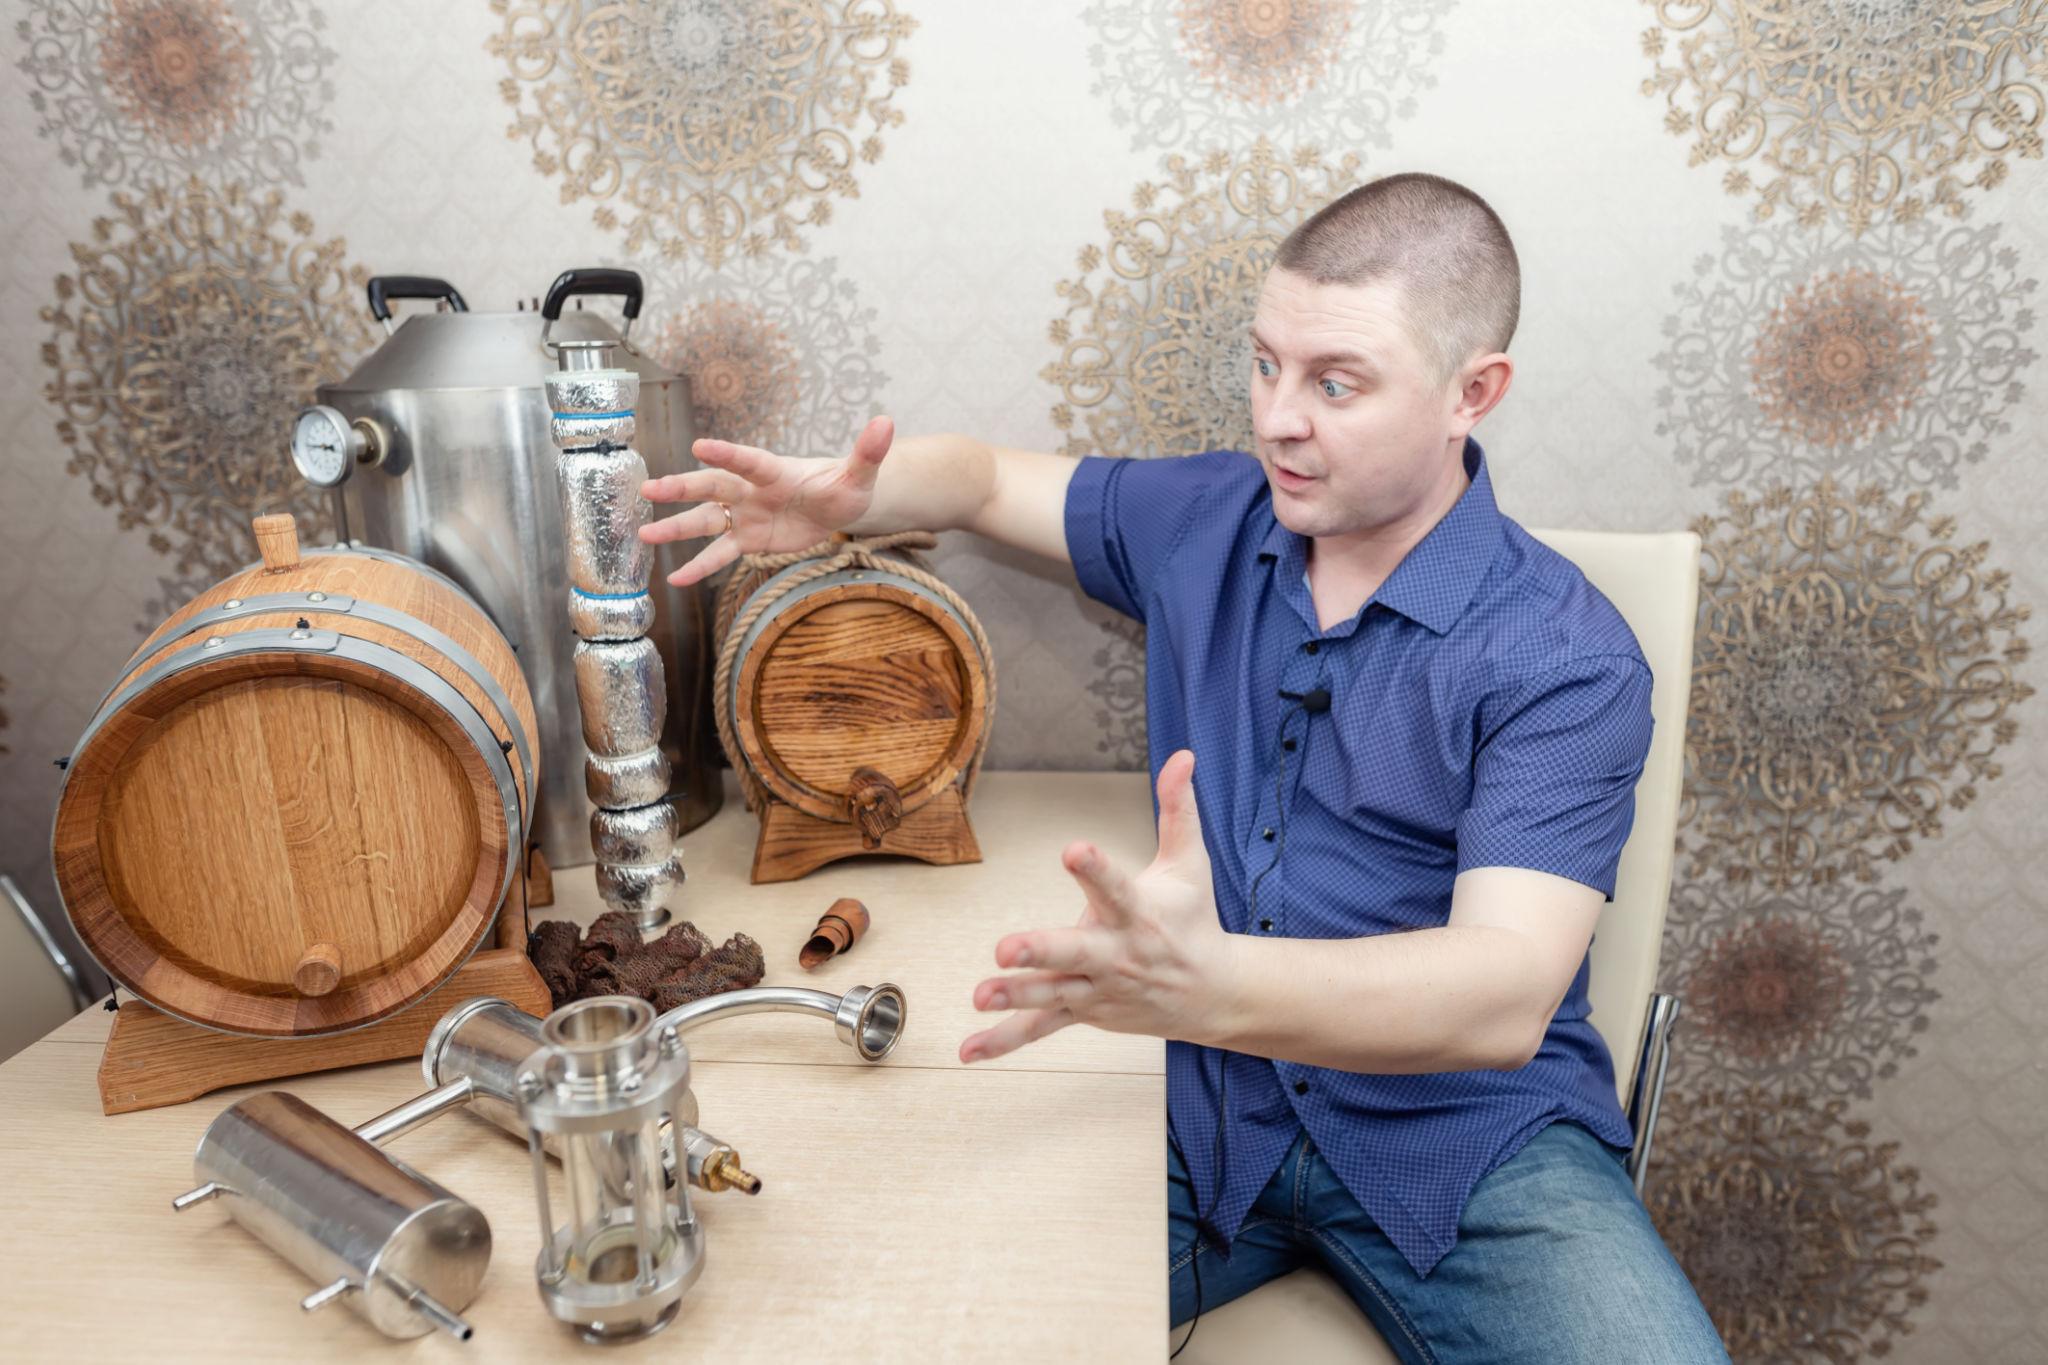
Typically, a whisky kit includes fermentation equipment, yeast, grains, and sometimes flavoring materials like oak chips. Some advanced kits also include small stills, although legal restrictions vary by country.
Because of this, many people start with a “flavoring kit” rather than full distillation. This approach lets you age and flavor neutral spirits instead of distilling alcohol from scratch.
Is It Legal to Make Whisky at Home?
Before you start, you need to check local laws. In many countries, distilling alcohol without a license is illegal, even for personal use. However, fermenting and flavoring alcohol is often allowed.
For example, you can legally:
- Brew beer or wine at home in many regions
- Infuse or age store-bought spirits
- Use whisky flavoring kits
However, distillation may require permits or be fully restricted. Therefore, always confirm your local regulations before buying equipment.
Types of DIY Whisky Kits
Not all whisky kits are the same. Choosing the right type depends on your goal, budget, and legal situation.
1. Flavoring Kits
These kits use neutral spirits like vodka. You add oak chips and flavoring to mimic whisky aging.
Best for beginners because they are simple and legal in most places.
2. Mash & Fermentation Kits
These include grains, yeast, and fermentation tools. You create a mash and produce alcohol through fermentation.
However, you still need distillation equipment to make real whisky.
3. Full Distillation Kits
These include a small still and full setup. They allow complete whisky production.
However, they require more skill and may not be legal everywhere.
Essential Equipment for Your Whisky Kit
You can build your own kit instead of buying a pre-made one. This gives you better control over quality and cost.
Basic Equipment List
Start with these essentials:
- Fermentation vessel (food-grade bucket or glass jar)
- Airlock and stopper
- Hydrometer (to measure alcohol potential)
- Thermometer
- Stirring spoon (non-metal preferred)
- Siphon tube
- Storage bottles
Optional but Useful Tools
You can improve your results with these additions:
- Oak chips or mini barrels
- Grain mill
- Heating source
- Filtering cloth
Ingredients You Need
Good whisky starts with quality ingredients. Even a simple kit depends on proper selection.
Core Ingredients
You need:
- Grains (corn, barley, rye, or wheat)
- Water (clean and chlorine-free)
- Yeast (distillers yeast or brewing yeast)
Flavor Enhancers
To create depth, you can add:
- Oak chips (for aging flavor)
- Caramel coloring (optional)
- Spices for custom profiles
Step-by-Step Guide to Making Your Own Whisky Kit
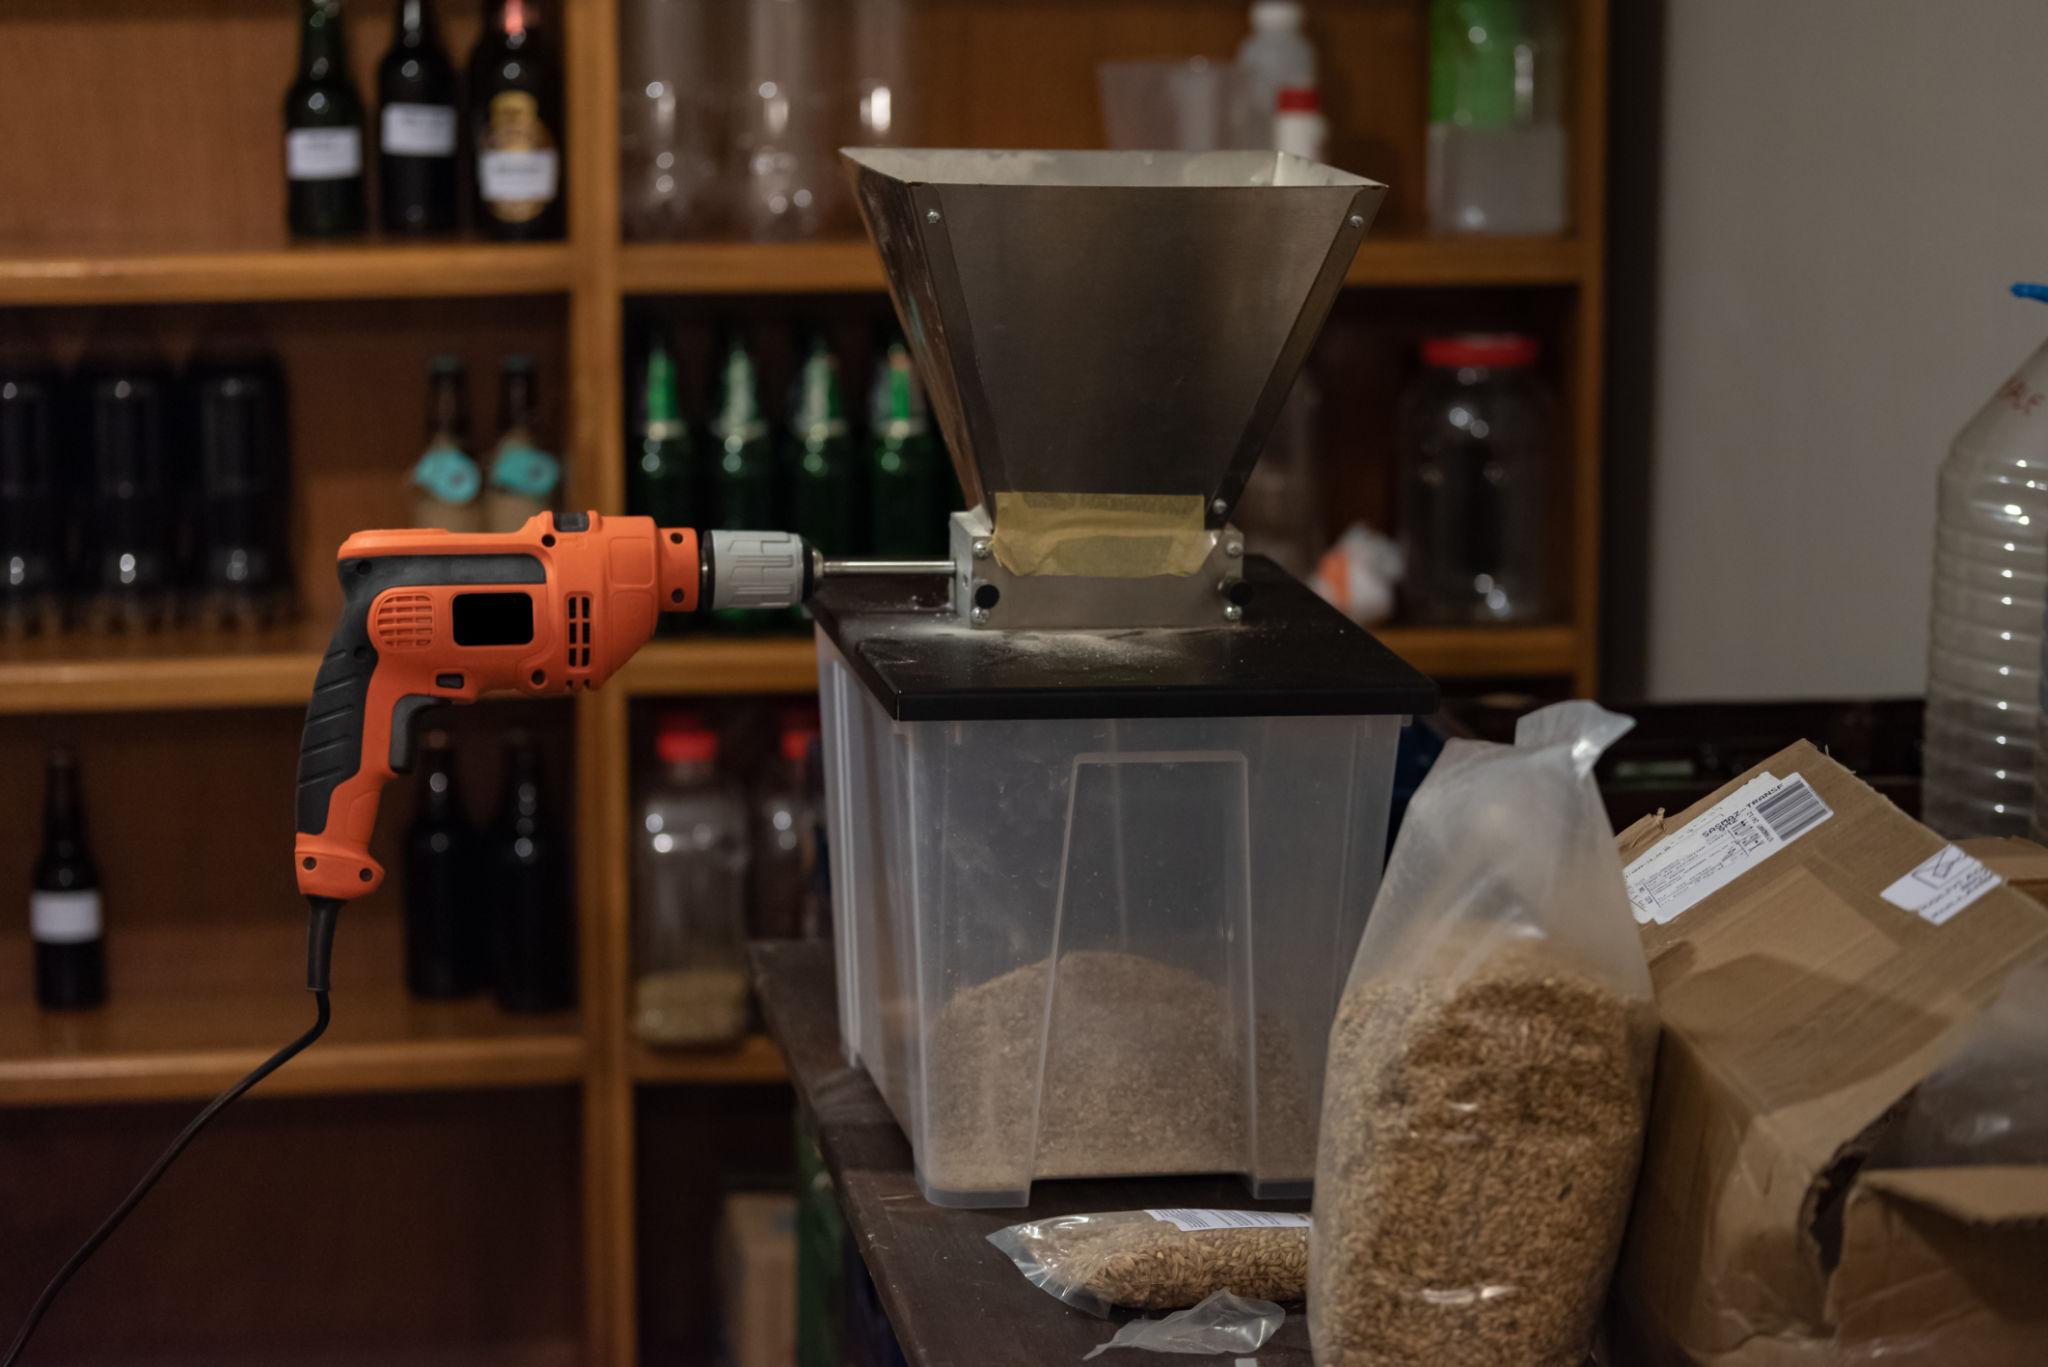
Step 1: Prepare Your Equipment
Clean everything before use. This step prevents contamination and improves flavor. Use warm water and a sanitizer to sterilize your tools.
Step 2: Create the Mash
Mix your grains with hot water to release sugars. This process is called mashing. Stir the mixture and maintain a steady temperature between 60–70°C.
Step 3: Cool and Add Yeast
After mashing, let the mixture cool to room temperature. Then add yeast and transfer the liquid into your fermentation vessel.
Step 4: Fermentation
Seal the container with an airlock. Let it sit for 5–10 days while yeast converts sugars into alcohol. During this stage, bubbles will form as gas escapes.
Step 5: Distillation (If Legal)
If allowed in your area, you can distill the fermented liquid using a still. This step separates alcohol from water and impurities. However, beginners often skip this and use neutral spirits instead.
Step 6: Aging and Flavoring
Pour your distilled or base spirit into a container with oak chips or a small barrel. Store it in a cool, dark place for several weeks or months.
Step 7: Bottling
Once the flavor develops, filter the liquid and transfer it into bottles. Label your batch with the date and ingredients for tracking.
Tips for Better Results
You can improve your whisky quality by following a few key practices.
- Always sanitize equipment
- Use high-quality grains and water
- Control fermentation temperature
- Avoid rushing the aging process
- Keep notes for each batch
Consistency matters more than complexity.
Common Mistakes to Avoid
Many beginners make avoidable errors that affect taste and safety.
Mistake 1: Poor Sanitation
Contamination ruins batches quickly. Always clean thoroughly.
Mistake 2: Wrong Temperature
Too much heat kills yeast, while low temperatures slow fermentation.
Mistake 3: Skipping Aging
Fresh whisky tastes harsh. Aging smooths the flavor significantly.
Mistake 4: Using Low-Quality Ingredients
Cheap inputs lead to poor results. Invest in better grains and yeast.
Cost Breakdown of a DIY Whisky Kit
Building your own kit can be affordable.
Estimated costs:
- Basic equipment: $30–$80
- Ingredients: $20–$50 per batch
- Optional tools: $20–$100
In total, you can start for under $100 if you keep it simple.
Why Make Your Own Whisky Kit?
There are several reasons people choose DIY whisky kits.
- Creative control over flavor
- Lower long-term cost
- Educational and rewarding process
- Ability to experiment
Additionally, many people enjoy the hands-on experience more than buying ready-made bottles.
Conclusion
Making your own whisky kit is both practical and rewarding when you approach it correctly. You don’t need expensive tools or advanced knowledge to start. Instead, focus on clean equipment, good ingredients, and patience. Over time, your skills will improve, and your batches will taste better. If you’re ready to begin, start small, follow the steps carefully, and refine your process with each attempt.
FAQs
What is the easiest way to start making whisky at home?
The easiest method is using a flavoring kit with store-bought neutral spirits. It avoids legal issues and simplifies the process.
How long does it take to make whisky?
Fermentation takes about 5–10 days, while aging can take weeks or months depending on your desired flavor.
Can I make whisky without a still?
Yes, you can use pre-distilled alcohol and focus on aging and flavoring instead of distillation.
What grains are best for beginners?
Corn and barley are beginner-friendly because they are easy to work with and widely available.
How do I improve the taste of homemade whisky?
Use better ingredients, control temperature, and allow more time for aging. Small adjustments make a big difference.
References
https://www.whiskyadvocate.com/how-whisky-is-made/
https://homebrewersassociation.org/how-to-brew/
https://www.distilling.com/how-to-make-whiskey/
https://www.masterclass.com/articles/how-to-make-whiskey